When I first had to deal with the difficulty of trying to remove old adhesive residue, I was on-site at a renovation project. I only wanted to prepare the surfaces for a new coat of paint without harming the walls, windows, or flooring. But I quickly found that removing glue isn’t as straightforward as it appears. Sticky spots left behind by old adhesives can be stubborn, and different surfaces react in different ways. I wanted to accomplish it in a way that was safe and dependable.
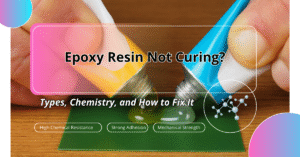
When I first tested cement-based residues from tile work, I realized the importance of using the right adhesive system. If you want to understand how tile adhesives form rock-solid bonds, check out From Weak Bonds to Rock-Solid Grip: The Power of Tile Adhesive Mats
Step One: Learn about the glue.
I had to figure out what kind of glue it was before I could use any tools or chemicals. Others of the remnants were made of cement from tile work, others were made of emulsion from wallpaper or craft projects, and a few were made of epoxy from industrial uses. It was really important to know what kind it was. If you apply the wrong procedure, things might get worse. For example, scraping epoxy-like cement makes a mess, and powerful solvents on plastic can change its color.
I began by testing small amounts of each glue to observe how they performed. The remnants of cement were firm but fragile. Emulsion adhesives were soft and a little sticky. Epoxies were firm and shiny. This first phase helped me understand how to remove old adhesive residue effectively, keeping me from causing unnecessary damage later and making my method more predictable.
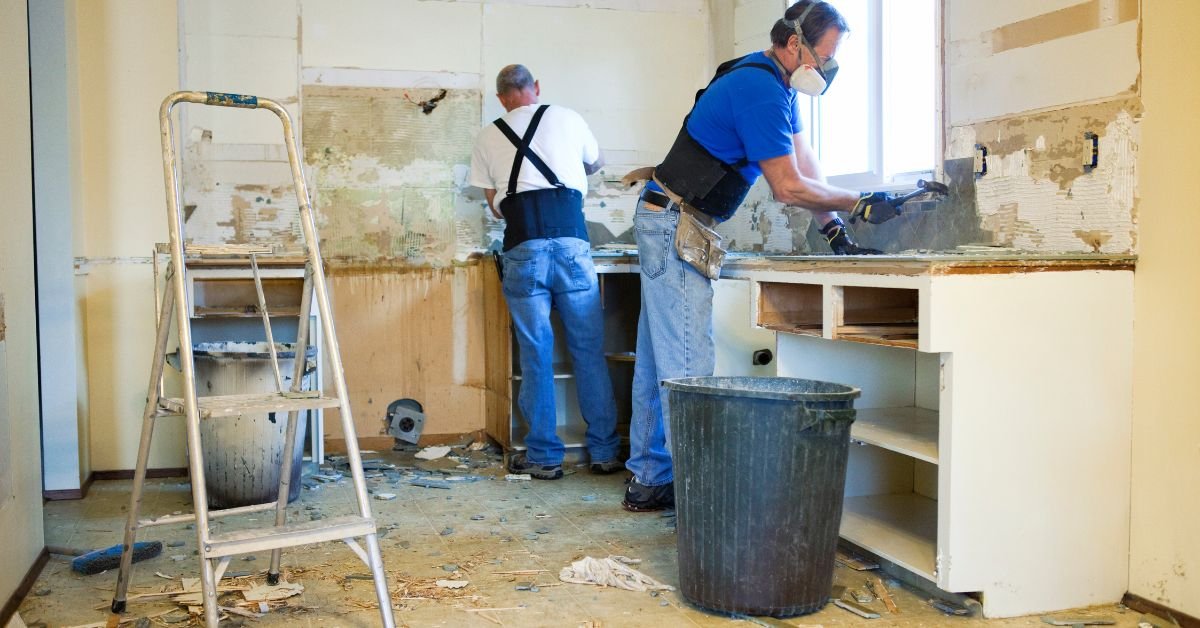
This picture shows what it’s like to remove sticky residue on a restoration site in real life. You can observe people using safety gear, using solvents carefully, and keeping their work area clean. It reminds me of my own experience with testing adhesives and using safe ways to remove them. It also shows how to be safe in real life, which is in line with what the blog says. Great for demonstrating to readers how to do this method.
Scraping and Sanding to Remove Old Adhesive Residue Mechanically
I started with mechanical removal after I learned what kinds of glue to use. For the harder locations, I used putty knives, wire brushes, and a little sander. I used a plastic putty knife on the walls so I wouldn’t scratch the paint. A razor blade performed remarkably well on glass and tile.
One little triumph that I didn’t expect was that softly brushing cement-based residue with a wire brush helped me remove old adhesive residue in pieces without harming the surface. But epoxy took longer to work. I had to softly sand the surface with a fine-grit sander, monitoring constantly to avoid dents. Mechanical techniques alone weren’t enough, although they did make the job simpler by reducing bulk.
Chemical Solutions to Remove Old Adhesive Residue
Thereafter, I tried chemical removers to remove old adhesive residue. I used Goo Gone, acetone, isopropyl alcohol, and a 3M adhesive remover. To minimize discoloration, I always tested a tiny concealed area first, especially on painted surfaces or plastics.
I saw this:
- Isopropyl alcohol performed well on adhesives that were based on emulsion. It softened them enough to make them simple to scrape off.
- Acetone worked on epoxy, but I had to be quick so that it didn’t dull the tiles or plastic.
- Goo Gone and 3M remover worked on many different surfaces, such as metal, glass, and even flesh.
- Using chemical solutions after taking things apart with tools made a big impact. Removing the residue, which initially appeared difficult to eliminate, was easy. The procedure was quicker, cleaner, and easier to manage.
- I also tried out some advanced options that are good for the environment.
- I also tried out some fresh choices. Once, a microbial solution intended to break down adhesives performed remarkably well on organic emulsion leftovers. I tested laser ablation in a lab setting on industrial-grade epoxy. It got rid of residues without affecting the surroundings around them. Ultrasonic cleaning was very effective on small metal instruments that had solidified glue on them.
These choices aren’t necessarily useful for tiny DIY projects, but they do highlight how building chemicals are evolving to help remove old adhesive residue more efficiently. Sometimes spending a little on sophisticated procedures can save a lot of time.
Safety First While You Remove Old Adhesive Residue
Safety was always my top priority. You needed gloves, goggles, and masks, especially when using solvents or sanding dust that may get on your skin. I kept all of my solvents in sealed containers when I wasn’t using them, and the ventilation made it easier to deal with chemicals. Little things kept big problems from happening.
Always wear gloves, goggles, and masks when handling solvents. For comprehensive chemical safety guidance, refer to OSHA’s Chemical Safety Guidelines
A Step-by-Step Method That Worked for Me

This picture illustrates the chemicals and tools I used to get rid of old glue stains quickly and easily. You can see that the putty knives, wire brushes, and chemical solvents are all set to go. These things are necessary for safely and effectively getting rid of glue. Using the proper chemical with the right instrument keeps the surface from becoming damaged. It shows the step-by-step method I talked about in the blog.
- Find out what kind of glue it is: cement-based, emulsion-based, or epoxy.
- Try it out on a tiny area: Make sure the surface isn’t damaged.
- Start removing mechanically by scraping, sanding, or brushing off the bulk residue.
- Use the right solvents for the sort of glue you have to remove it.
- Gently scrape again: Softening makes it easier to get rid of the residue.
- Before completing, clean and check the surface to make sure nothing is left.
- This procedure consistently reduced time and kept the surface intact on several jobs.
Results and Little Victories When You Remove Old Adhesive Residue
In one area, the walls had a combination of tile adhesive and wallpaper glue. After mechanical scraping, chemical treatment helped me remove old adhesive residue-about 95% in less than an hour. When used with a razor blade on glass panels, acetone left the surfaces clean and scratch-free. Even tough epoxy on metal tools softened enough after several applications to wipe off with Goo Gone.
One surprising result was that some emulsion adhesives reacted more quickly to mild heat before being chemically treated. The adhesive was soft enough after using a hair dryer that peeling it off didn’t hurt. These small triumphs made the whole process less annoying and more predictable.
Lessons Learned and Tips for Removing Old Adhesive Residue
- Always find out what kind of glue it is first. Don’t think that all residues act the same way.
- Begin slowly. First, mechanical techniques cut down on the number of chemicals needed.
- Test the chemicals in hidden areas. It keeps the surface from becoming damaged, which costs a lot of money.
- Small changes, like using heat or eco-friendly bacteria, can save time.
- You need to have safety and ventilation. They keep you and your surfaces safe.
- Over time, I learned that the best way to do things is to use a mix of mechanical, chemical, and occasionally modern technologies. Various types of glue work in different ways, so be patient.
The End
It might be difficult to get rid of old glue residue, but it’s possible if you have a plan. Here are the experiences I have had. You can try this in your area. If you want to talk further, get in touch with me.
After I managed to remove old adhesive residue, the surfaces were ready for a fresh installation. For tips on installing peel-and-stick tiles, check out How to Install Peel and Stick Floor Tiles Like a Pro – Step-by-Step Guide
Disclaimer: The methods and products discussed in this blog are based on my personal experience in construction chemical projects. Always follow safety guidelines, manufacturer instructions, and test products on a small area before use. Results may vary depending on surface type and adhesive composition.
Last updated on August 28, 2025
As Buildchemx’s founder, I’m Amarender Akupathni, who has over ten years of experience in the R&D of construction chemicals. I have a background in biotechnology, marketing, and chemistry, and my areas of expertise are adhesives, coatings, and environmentally friendly solutions. I offer useful perspectives at Buildchemx that connect laboratory studies with on-site implementations.