Have you ever wished you could fix this floor today without hiring a contractor or spending a lot of money? Peel and stick tiles allow you to achieve just that. When put up correctly, they are quick, cheap, and remarkably long-lasting.
Here’s the thing: a lot of people fail at DIY projects because they don’t prep the surface, measure wrong, or don’t think about little problems. I know from using construction chemicals that even a small mistake in getting the glue ready may ruin the whole thing. The good news is that if you employ a methodical, professional technique, you can install peel-and-stick tiles like a pro and create a finish that feels permanent but is still good for renters.
This book will teach you everything you need to know, from how to set up your tools and surfaces to how to cut and stick things together, and even some chemical tricks I’ve learned in the lab. I’m giving you my “insider notes” over coffee so you don’t have to deal with the headaches and have that smooth, seamless floor.
Part 1: The things and tools you’ll need
Before you start, make sure you have these things:
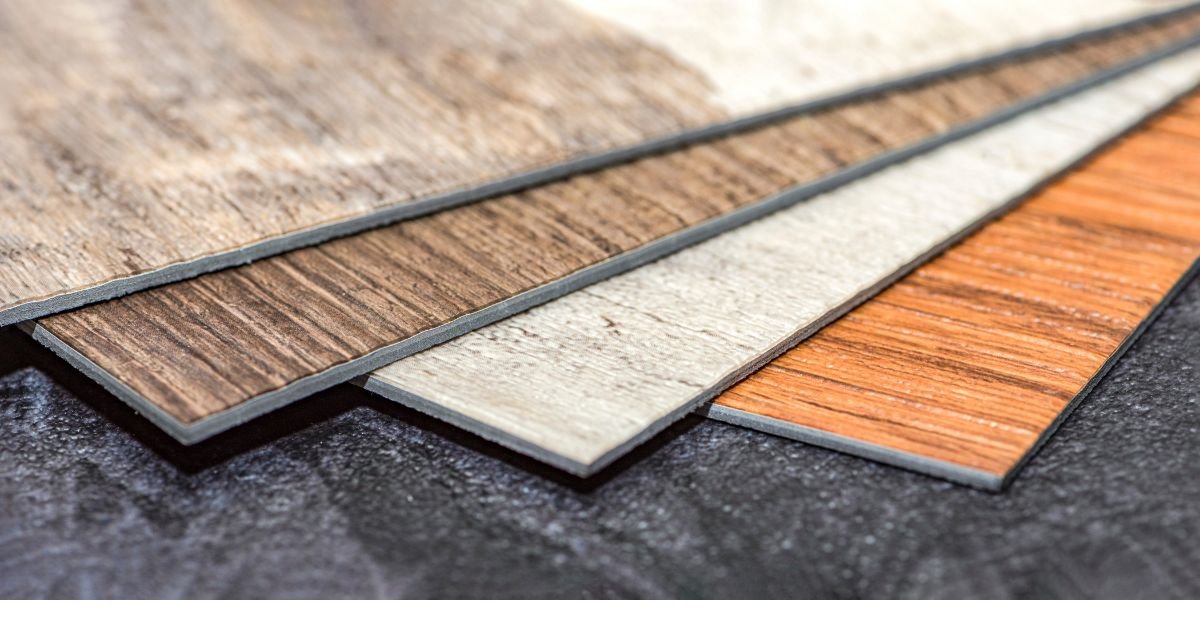
- Order 5-10% more peel-and-stick floor tiles in case of mishaps or cuts.
- A tape measure
- Carpenters use a pencil or chalk line.
- Level (to keep lines straight)
- A utility knife or an X-Acto knife
- A speed square or a straight edge
- Putty knife and filler/putty (to smooth down rough spots)
- TSP is a cleaner that works on walls, and ammonia-based cleaners work on vinyl and linoleum.
- A sponge or a spray bottle with water and soap
- Roller (not necessary, but it helps things stick)
- A caulking gun and caulk (for finishing edges)
- Foam underlayment (a 4mm barrier that makes installations easy for renters)
- Put on gloves and safety eyewear for your own protection.
Things will go more easily if you have these on hand. It is difficult to focus and frequently results in blunders when you return to the store while working on a project.
Looking for another easy way to get a strong, professional tile finish without the mess of traditional adhesives? Check out my detailed guide: From Weak Bonds to Rock-Solid Grip: The Power of Tile Adhesive Mats.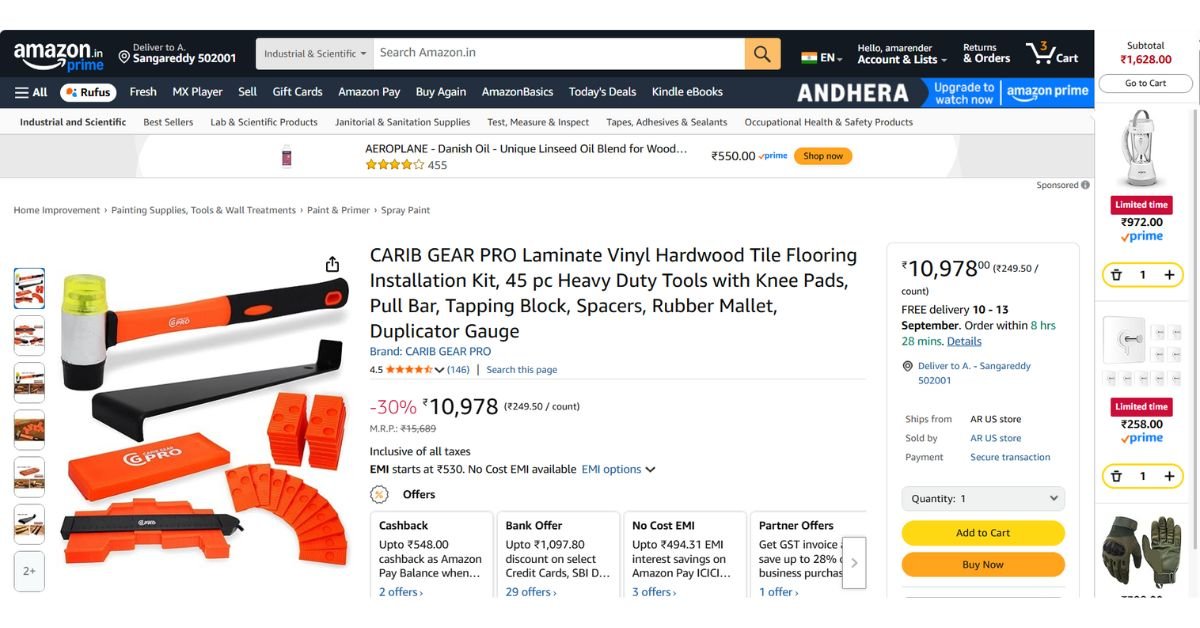
This is a simple beginner kit that has everything you need, like a utility knife, tape measure, spacers, and more. Before you start, make sure you have all of your tools ready. This will make installation go more smoothly and keep you from having to stop. Always keep this in mind: cut once, measure twice. These tools are like a “mini-lab kit” for doing things yourself to get a professional look.
Part 2: How to Remain Safe with Peel and Stick Tiles
Despite how harmless this do-it-yourself project appears, you must always prioritize safety. A couple of brief remarks:
- For your safety, cut the tiles on a level surface.
- When working with glue or sharp blades, it is important to wear gloves.
- Always wear protective eyewear when cutting near pipelines or vents.
- When working with adhesives or cleaners, make sure there is enough air circulation.
From what I’ve gathered, even so-called “safe” adhesives release chemicals that necessitate adequate lab ventilation. Put your house in the same safe, controlled environment as a mini lab. Things will go more easily if you have these on hand. It is difficult to focus and frequently results in blunders when you return to the store while working on a project.
From what I’ve gathered, even so-called “safe” adhesives can release chemicals that require good ventilation. When installing peel and stick tiles, treat your home like a mini lab-keep it safe and well-ventilated.
Part 3: Instructions for each step
Preparing the surface is 80% of the work. Your tiles will stay in place for years if the substrate is clean, dry, and smooth. The most common reason peel-and-stick tiles fail is that people don’t do this step. You wouldn’t paint over dirt or cracks, would you? Please ensure you apply the same preparation to your subfloor.
Step 1: Prepare the Surface for Peel and Stick Tiles
The most important thing is to maintain it clean, smooth, and dry. Remove old tiles, panels, or wallpaper. Fill up gaps with putty and smooth off rough spots with sandpaper. Then, make sure to clean well. When cleaning vinyl floors, I enjoy cleansers that are based on ammonia better. For walls or oily areas, a TSP replacement works best. Tip: Get the surface ready like you would before putting on a coat. If the base is weak, the top layer will always fail.
For walls or oily areas, a TSP cleaner works best
Be careful about the type of subfloor you have. Don’t put tiles on concrete that is greasy, uneven, or dusty and not sealed. Always seal or smooth these kinds of surfaces first.
Use a Primer if Needed: If the concrete is rough or the plywood is dusty, use a primer or adhesion booster to make the bond stronger.
Check for Moisture: Before you start, make sure the floor is not wet if it is concrete or in a basement. Tiles will peel off if there is too much dampness.
Install peel and stick tiles when the room temperature is between 18°C and 29°C (65°F and 85°F). Cold or damp conditions can reduce how well they stick.
Step 2: Find out how big the area is.
It’s a common saying, but it works: measure twice, cut once. Draw a map of your floor with a pencil and a tape measure. You can use a level or a chalk line to draw your center line. This makes sure that the tiles fit together correctly and don’t leave a “half-tile” on one wall. Pro Tip: Adhesives that are symmetrical lower stress points. Lines on the floor make faults less obvious.
Let Tiles Rest: Before you install peel and stick tiles, leave them in the room for 24 to 48 hours so they can adjust to the temperature and humidity. This helps prevent curling later on.
Step 3: Put the Peel and Stick Tiles Together Without Using Glue
Before you glue anything down, lay the tiles across the room. This shows you the pattern, helps you detect mistakes, and tells you whether you need extra tiles. Free to change it immediately.
Don’t make this mistake: If you don’t do this step, your seams will undoubtedly be uneven, which is a sure sign of a DIY fail.
Step 4: Cut tiles for the edges and items that are in the way.
Use your utility knife and straight edge to make exact cuts. Be patient and score and snap around toilets and pipes. Cut the tile in two places so that it fits around the pipes.
Instead of making one deep cut, make several shallow cuts. It keeps the edges clean.
Step 5: Add a Layer of Soapy Water Before Laying Peel and Stick Tiles
This is my favorite trick. Before you set down tiles, lightly spritz or sponge the surface with soapy water. It offers you a few more seconds to move without damaging the glue. Chemical Note: Soapy water slows down instant adhesion, just like retarders in cement slow down setting.
Step 6: Remove the peel and stick.
Start at the middle line. Take a piece of tile out, line it up carefully, and then press down slowly. Once you’re sure, take off the rest and smooth it out. Roll it or push down forcefully with your hand.
Press Tiles Firmly: After putting down the tiles, roll them with a flooring roller (or at least a hand roller) to make sure the glue sticks evenly.
This is where the magic happens: peeling, lining up, and pressing down the tiles. Press down hard to keep them in place, starting from the center line. Being patient will pay off: precise seams and crisp edges will make your floor look like a professional contractor’s without the cost.
Change things up: If you want to make it easier for renters to install, put down a 4 mm foam underlayment first. It keeps peel and stick tiles in place without clinging to them, making them much easier to remove later.
Step 7: Cut it into pieces.
Don’t run across the room while installing. Instead, put the peel and stick tiles in a row and check to see if they are all aligned properly. You’ll save hours later if you make minor adjustments today.
Step 8: Optional: Use Caulk or Grout to Finish
Most high-end peel-and-stick tiles don’t need grout, but caulking around the edges and baseboards makes them look like they were put in by a pro. It keeps water out and helps the surface look “finished.”
Leave a Small Gap: Leave a 2–3 mm gap at the edges of the wall, then cover it with baseboards or caulk. This stops buckling.
Part 4: Things that go wrong and things that change a lot
Things to Avoid:
- Installing on dirty or moist surfaces (tiles come off easily).
- ‘Forgetting to order extra tiles (the patterns don’t always match perfectly).
- Not doing a dry fit (makes seams not line up).
- Rushing cuts around things (the edges that aren’t straight stay that way).
Different kinds:
- Chevron and herringbone styles need more cuts and tiles than other styles.
- If you want your concrete surfaces to stick together for a long time, you might want to add a high-quality adhesive booster.
- When setting up for renters, always use the foam barrier approach so you can easily pull them down.
Part 5: A Short Look Back at Peel and Stick Tiles
- Make sure the surface is clean, dry, and smooth.
- Make sure to measure accurately and draw straight lines.
- Put tiles together without glue to see how they will appear.
- Cut cleanly around the borders and anything else that gets in the way.
- Use soapy water, peel, stick, and press down hard on the tiles.
- Use caulk or optional grout to finish for results that last
Afterward, be careful. Use mild cleansers instead of harsh solvents to protect the glue. Seal the edges well in places that get moist, like bathrooms.
Finally, I’d like to offer some last words of encouragement and advice.
Installing peel-and-stick tiles correctly ensures that they will last. Skipping a step will cause problems to manifest rapidly.
If you put in the time and effort ahead of time, you could be able to save money on a floor that looks professionally installed. Walls, backsplashes, or even intricate designs will be within your capabilities after you finish working on a single room.
To make your space unique, buy tiles, trust the process, and have fun. A great perk of taking matters into your hands is the satisfaction of being able to claim, “I did this myself.”
Disclaimer: One of the pictures in this blog is a screenshot of an Amazon product listing and is simply there to show and teach. All trademarks, product names, and pictures are owned by the people that own them. This blog does not own, support, or do business with Amazon or the vendors mentioned. The other pictures on this site were made just for demonstrative purposes.
Last updated on August 22, 2025
As Buildchemx’s founder, I’m Amarender Akupathni, who has over ten years of experience in the R&D of construction chemicals. I have a background in biotechnology, marketing, and chemistry, and my areas of expertise are adhesives, coatings, and environmentally friendly solutions. I offer useful perspectives at Buildchemx that connect laboratory studies with on-site implementations.