I’ve been making construction chemical formulations for 10 years, and in this Paint Sprayer Tech Guide, I’ll share how paint sprayers have changed the way professionals and do-it-yourselfers apply coatings. Painting with brushes and rollers used to take days, but now it takes hours and looks better.
The most important thing in this Paint Sprayer Tech Guide is to understand how sprayer technology works. When you atomize paint in the right manner, you get a smooth coat that sticks better, dries faster, and lasts longer than other forms of painting. These procedures have been tested in research and development and can help you produce professional-level results, whether you’re painting a warehouse floor or fixing up cupboards.
Part 1: Important Tools and Supplies
Before you start any spray job, make sure you have these important things:

Choices for sprayers:
- In this Paint Sprayer Tech Guide, HVLP (High Volume Low Pressure) is best for getting smooth finishes on cabinets or furniture.
- Airless sprayers are ideal for big areas like floors and walls.
- Compressed Air: For professional use in cars and factories
Getting the surface ready:
- TSP is a degreaser specifically designed for removing thick filth.
- For most surfaces, use sandpaper with a grain of 60 to 80.
- Use tack cloth to get rid of dust.
- Things to consider while painting
- Strainer with at least 150 mesh
- Compatible thinner (if you need it)
- A cup for measuring to get the right amount of thinning
Safety Gear:
- NIOSH has approved this respirator.
- Gloves that can handle harsh substances
- Eyewear that keeps your eyes safe
- Tip: Always have spare filters and nozzle tips on hand. Sprayers often have problems with clogging.
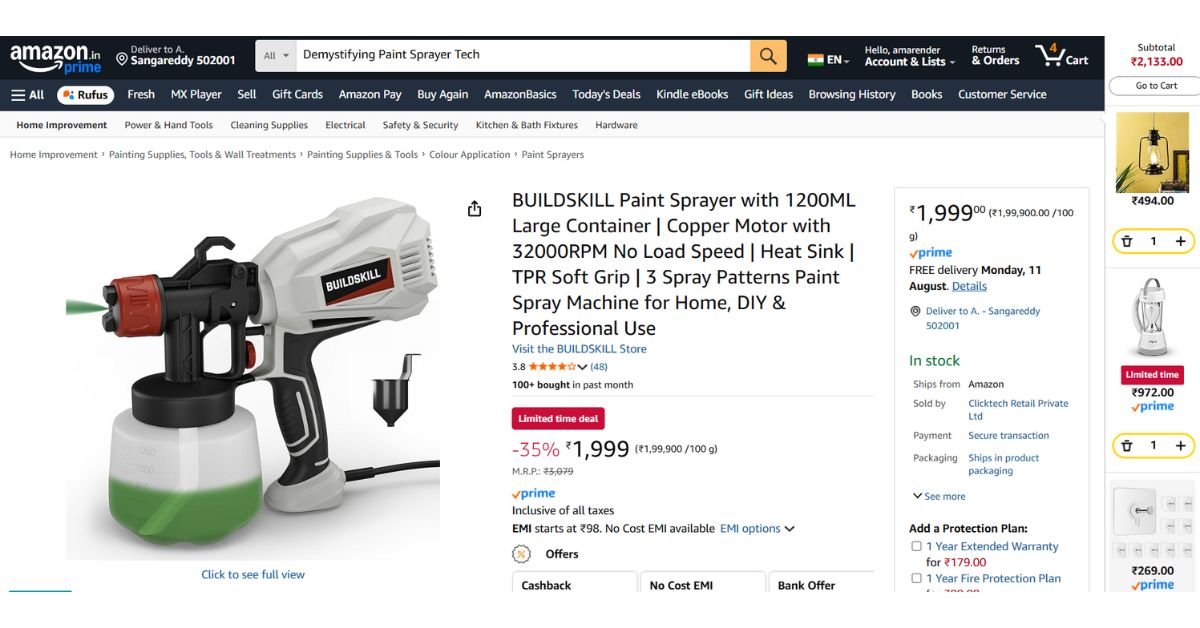
Based on what I read on Amazon, the BUILDSKILL Paint Sprayer has a 1200 ml big container that lets you paint without stopping, three spray patterns with flow control, and a suction tube that can be adjusted to any angle. Its 400W pure copper motor with a no-load speed of 32,000 RPM and heat sinks will keep it running safely and cool. It can handle paints with a viscosity of up to 100 DIN, so you may use it for both indoor and outdoor applications, including walls, furniture, fences, and more. You can also take it apart fast for easy cleaning and maintenance, and it comes with a 6-month warranty.
Part 2: Important Rules for Safety – Paint Sprayer Tech Guide
- There must be ventilation.
- In this Paint Sprayer Tech Guide, when you can, work outside or utilize fans to blow out air.
- Make sure that every sprayer gets at least 50 CFM of air.
- Wear Protective Gear for Yourself
- Use a half-face respirator with cartridges made for organic vapors.
- Wear coveralls to keep skin from touching.
- Getting the workspace ready
- Put plastic coverings over the surfaces next to them.
- Set up a 15-foot overspray zone.
- Check the safety of the equipment.
- Check hoses for cracks before you put pressure on them.
- Make sure all connections are tight.
A lesson learned from experience is that when we tried a new epoxy compound without sufficient ventilation, the overspray created a slick surface, making it dangerous to walk on. We always employ fences to keep things contained now.
Section 3: How to Apply in Steps
Step 1: Prepare the surface.
- Use the right cleaner to clean well.
- Sand to make mechanical adhesion
- Wipe down with alcohol that has been denatured.
- Why It Matters: 80% of how well a coating works depends on how well it is prepared.
Step 2: Getting the paint ready
- Put paint through a mesh filter.
- If needed, change the viscosity (use a Zahn cup for accuracy).
- Try out the spray design on cardboard.
- Insider Tip: Keep paint at 70–75°F for the best flow when using epoxy formulas.
Step 3: Setting Up the Equipment
- Choose the right size tip:
- 0.011–0.015″ for stains
- 0.017–0.021″ for latex and epoxy
Set the pressure:
- HVLP: 10 to 25 PSI
- Airless: 1,500 to 3,000 PSI
Step 4: How to Apply
- Keep the gun 10 to 12 inches away from the surface.
- Keep a steady speed of 1 ft/sec.
- 50% of the time, passes overlap.
- Use several thin coats instead of one thick layer.
- Tip: To keep objects from piling up, start and stop the spray motion off the work surface.
Step 5: After you’re done, clean up and take care of the tools.
- Please flush the system immediately after use.
- Take apart and clean the nozzle.
- Use silicone grease to lubricate O-rings.
Section 4: Fixing Common Problems – Paint Sprayer Tech Guide
- Problem: Fish eyes (round holes)
- Solution: Get rid of more grease and keep silicone out of the way.
- Problem: The texture is like orange peel.
- Solution: Lower the pressure or change the paint’s thickness.
- Problem: Coverage that isn’t even
- Please examine the nozzle tips for wear to identify the issue.
For exterior concrete, add a 5% anti-carbonation ingredient to the priming coat as an advanced variation.
Section 5: A Quick Review of the Process
- Carefully prepare the surface.
- Make paint thicker.
- Choose the right settings for the equipment.
- Use the same procedure every time.
- Clean the tools very well.
Conclusion: Get Better at Coating
It’s both an art and a science to learn how to utilize paint sprayers. Start with small chores to build your confidence, then go on to greater ones. In our lab studies, we found that using a spray instead of a brush made the coating stay 40% longer.
For a more difficult challenge, try using conductive primers for electrostatic spray applications. We have achieved 95% transfer efficiency under production conditions.
Disclaimer: Please note that the product image presented in this blog is a screenshot taken from Amazon to show how it looks.
Last updated on August 9, 2025
As Buildchemx’s founder, I’m Amarender Akupathni, who has over ten years of experience in the R&D of construction chemicals. I have a background in biotechnology, marketing, and chemistry, and my areas of expertise are adhesives, coatings, and environmentally friendly solutions. I offer useful perspectives at Buildchemx that connect laboratory studies with on-site implementations.