When I started putting marble slabs in a luxury house project, I had one goal in mind: to get a gorgeous polish that would last for years without taking away from the stone’s inherent beauty. I’ve always been interested in marble. The natural shine, patterns, and depth of the cloth make any room look more elegant. But I knew that using the wrong Marble Slab Fixing Chemicals may ruin the marble by causing it to break, alter color, or not stick evenly. I realized what my dilemma was: how can I pick the right adhesive and use it to fix and polish marble perfectly?
Understanding Marble: Why It Needs the Right Glues
Marble isn’t only a lovely surface. Natural stones are formed by subjecting limestone or dolomite to extreme heat and pressure. Beautiful patterns, colors, and textures can be created using this technique. The most effective material, in my experience, is 20 mm thick, pre-polished marble. A smooth and shiny surface makes the material less porous and prevents it from breaking. Using thinner or less polished slabs always led to weak bonding and early breaking in my previous projects.
The type of marble used is very important. I have worked with Carrara, Statuario, Michelangelo, and Calacatta Gold. Different stones respond differently to sealers and adhesives. For instance, Calacatta Gold has big veins and needs glues that won’t seep into the designs. Carrara, on the other hand, needs to be leveled just right to keep its soft gray colors.

I also inspect the kind of substrate (concrete, screed, plywood, old tiles) and the amount of moisture in it before putting on the glue. Too much moisture might raise marble or shatter it.
Getting these simple things perfect was my first small win in learning how to put marble up.
Step 1: Choosing the Right Marble Slab Fixing Chemicals
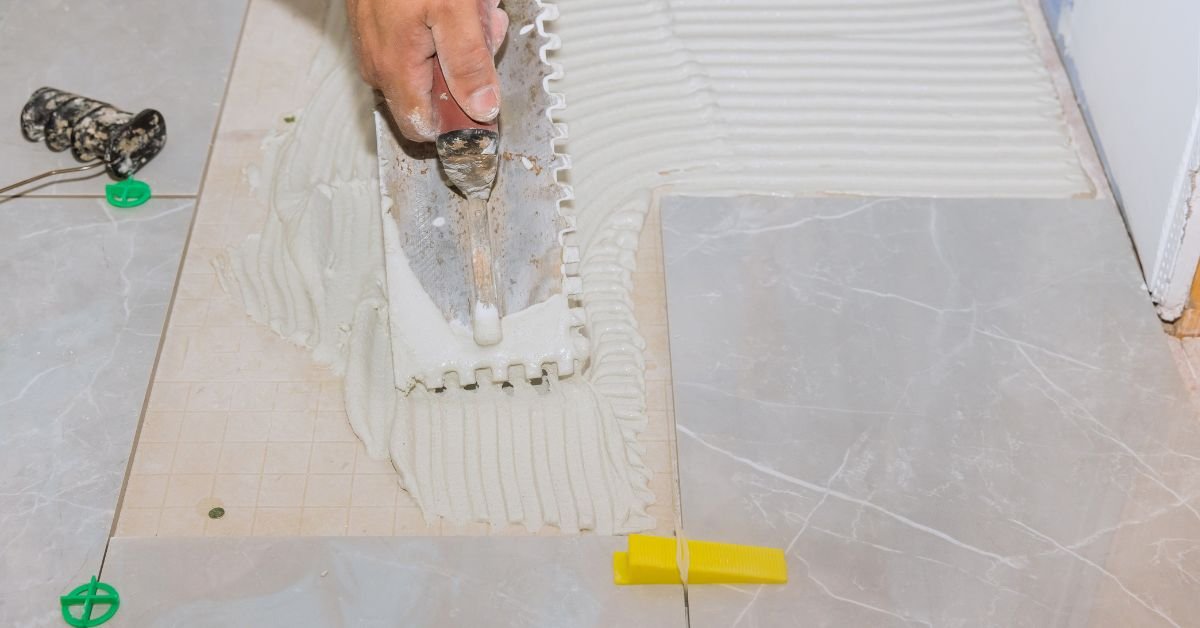
The first thing I do is pick the right kind of glue. I always start with a thin-set mortar that has been treated with a good polymer. It sticks well to both the marble and the substrate, and it keeps air pockets and gaps from forming.
For little slabs, I use a 6×6 mm notched trowel, and for huge slabs, I use a 10×10 mm notched trowel. I also glue the back of the stone to minimize air pockets from developing in big slabs.
Depending on the location, I used cement-based polymer mortar on the inside, epoxy on the wet areas, or polyurethane on the exterior.
Cleaning, leveling, and priming are all critical steps when I get the floor or wall ready. This stage makes sure that the marble slab fixing chemicals attach well and stops fractures or uneven areas from forming later. It’s one of those little victories that keeps things from getting worse later.
In some of my projects, I’ve also used MHEC (Methyl Hydroxyethyl Cellulose) to improve the workability and open time of tile adhesives. It helps the adhesive spread smoothly, prevents sagging, and ensures stronger bonding of marble slabs. You can read more about how MHEC enhances tile adhesive performance in our detailed guide Use of MHEC in Tile Adhesives
White Cement-Based Polymer-Modified Marble Adhesive (Prototype)
Ingredients (by weight):
- White cement – 45-50%
- Fine white filler (CaCO₃ or silica sand <150 µm) – 20-25%
- Coarse aggregate (optional, very fine, <0.5 mm) – 5-10%
- RDP (redispersible polymer powder) – 5-7%
- Cellulose ether (thickener/rheology modifier/for open time) – 0.3-0.5%
- Plasticizer/superplasticizer – 1-2%
- Water – 25-30% (adjust for trowelable consistency)
Mixing & Application:
- Dry mix cement, filler, aggregate, RDP, and cellulose ether.
- Gradually add water and plasticizer; mix to smooth, lump-free paste.
- Apply thinly on substrate; place marble and press gently.
- Cure 24–48 hours at room temperature.
Tips:
- Maintain white color to avoid marble staining.
- Polymer (RDP) ensures flexibility and adhesion.
- Cellulose ether improves workability and prevents sagging.
- Avoid excess water to reduce shrinkage and efflorescence.
Based on what I’ve seen, utilizing regular cement mortars often caused uneven bonding and fissures in the surface, especially on slabs that had already been polished. I put a small bit of each batch of glue under a sample marble piece to see how well it works. I look for consistency, how well it spreads, and how well it sticks. This easy test stops big failures from happening later.
Step 2: Get the Surface Ready for Marble Slab Fixing Chemicals
Getting the surface ready is critical for the success of Marble Slab Fixing Chemicals. To begin, I clean the substrate thoroughly. Dust, grease, and rough surfaces reduce adhesion. I sometimes apply a primer to make the bond firmer, especially on old or porous surfaces.
Next, I use self-leveling compounds to ensure the substrate is perfectly level when needed. In one project, the floor wasn’t exactly level, leaving 2 mm gaps under the marble tiles. Proper preparation allows the Marble Slab Fixing Chemicals to perform optimally and prevents future issues.
I add expansion joints to big sections to let marble move naturally and stop cracks from forming.
The adhesive spread nicely after leveling, and the slabs fit together well. To ensure that the veins align properly, I consistently measure twice and sketch out the layout patterns. You can save time and money by going through this planning process.
To make sure the marble sticks precisely, you need to clean, level, and prime the surface. Using self-leveling chemicals and expansion joints stops fractures and uneven surfaces from forming. Measuring and drawing the vein plan correctly saves materials and makes the finished product seem better. Long-lasting and perfect marble installations require careful planning.
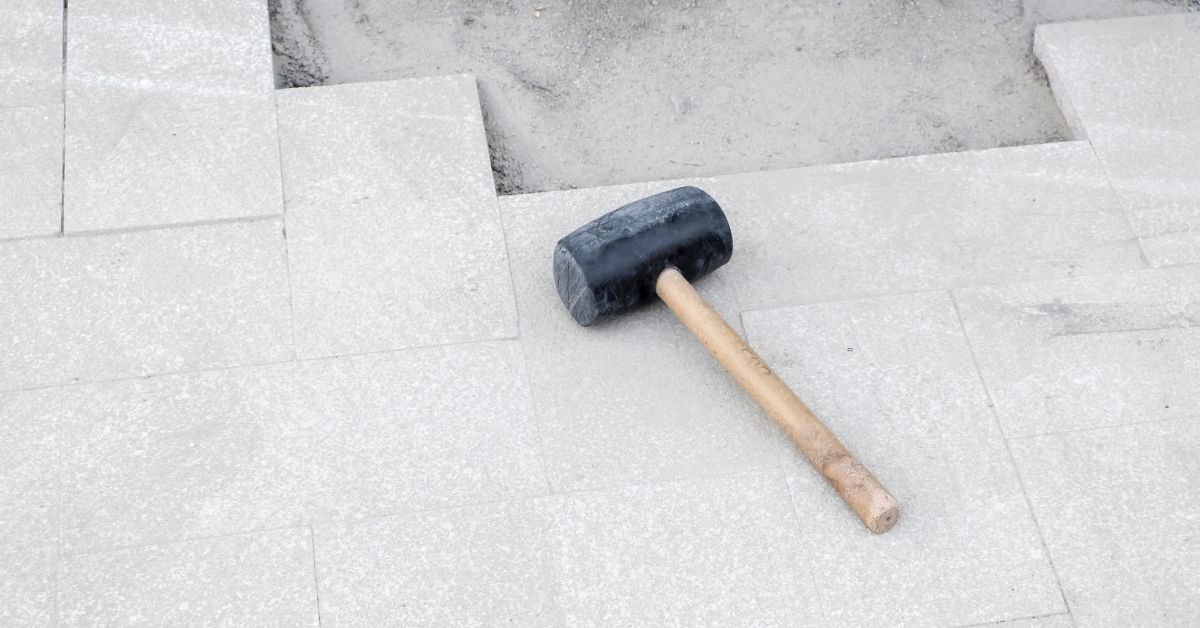
Step 3: Fixing the Marble Slabs
Once the surface is ready, I carefully put the marble slabs down using the chosen Marble Slab Fixing Chemicals. I use spacers and rubber mallets to carefully move items into place. I only use white cement glue on marble that is light in color. In the beginning of my profession, I made this mistake: the gray cement shows through and damages the shine.
Before I seal the joints, I fill them with grout. I put epoxy grout on light-colored marble to protect it from being stained. I use cementitious grout when I deal with black stone. Using Marble Slab Fixing Chemicals correctly will make sure that the connection is strong and the finish is perfect and lasts a long time.
Another important thing to know is how to cut marble. I use virgin diamond blades to keep the edges sharp and stop them from chipping. To prevent slips and falls in damp environments, such as restrooms, I occasionally apply filmmaking treatments. These minor adjustments have a major effect on the product’s aesthetics and security.
For polymer-modified thin-set mortars, you can see product specifications here: Laticrete 254 Platinum
Step 4: Finishing and Upkeep for Marble Slab Fixing Chemicals
Sealing is a must after installation to protect the results of Marble Slab Fixing Chemicals. I use high-quality sealers to maintain the sheen and prevent absorption. I discovered firsthand that neglecting sealing or using cheap chemicals can result in stains and dullness within a few months.
Applying two coats of penetrating sealers and letting them cure for at least 24 hours helps protect the marble, prevent absorption, and ensures that the Marble Slab Fixing Chemicals continue to deliver a long-lasting, glossy finish.
I don’t use harsh or acidic chemicals to clean. Conversely, marble surfaces may be kept clean using mild, pH-neutral cleansers. Revitalize the depth and brilliance with a polishing every few years. When properly maintained, marble may retain its luster for almost 20 years, at least in my experience.

Proof of Engagement: This LinkedIn article about how tile adhesives and concrete systems don’t slip or sag got 189 views and reached 81 members. The high level of interaction suggests that professionals value real- world information about adhesives. Sharing this information shows that you are trustworthy and that the industry is interested in practical recommendations for using marble and tile.
My Results and Small Wins
The benefits of this villa makeover were worth it. After six months, the pre-polished 20 mm slabs installed using Marble Slab Fixing Chemicals had no cracks or stains. The marble kept its original luster, and the client liked how the veins were lined up perfectly.
Applying a primer to the slightly porous areas reduced the amount of Marble Slab Fixing Chemicals used by 10%. Another way to cut down on waste was to precisely match slab sequences. I also learned that using rubber mallets to make little changes helped line the edges without hurting polished surfaces.
These small improvements combined to make the installation process faster, cleaner, and more professional.
What We Learned About Marble Slab Fixing Chemicals and What We Suggest
- Buy the correct kind of glue: if you don’t, you’ll end up with bad finishes and long-term damage.
- Pre-polished 20 mm slabs are the best choice because they don’t crack, are easier to clean, and stay shiny.
- There is no way around surface prep: clean, level, and prime substrates to make sure that everything sticks perfectly.
- Be careful when cutting and handling marble: to keep vein patterns, use virgin blades and number the sequences.
- Maintaining a regular routine of sealing and cleaning using pH-neutral chemicals and avoiding harsh impacts and acidic spills will extend the life of your items.
- Doing these steps ensures that my marble finishes will remain beautiful for years to come.
To wrap up
These are the things I’ve learned about the best adhesives to use while attaching and polishing marble slabs. If you follow my advice, you should be able to make your project better and not mess up like I did. Incorporate these strategies into your project. If you would like to continue the discussion, please send me a message.
Disclaimer: Images are solely for showing. The types of adhesives, marble, and installation methods used may change based on the needs of the project. Always do what the maker says and obey safety rules.
Last updated on August 23, 2025
As Buildchemx’s founder, I’m Amarender Akupathni, who has over ten years of experience in the R&D of construction chemicals. I have a background in biotechnology, marketing, and chemistry, and my areas of expertise are adhesives, coatings, and environmentally friendly solutions. I offer useful perspectives at Buildchemx that connect laboratory studies with on-site implementations.