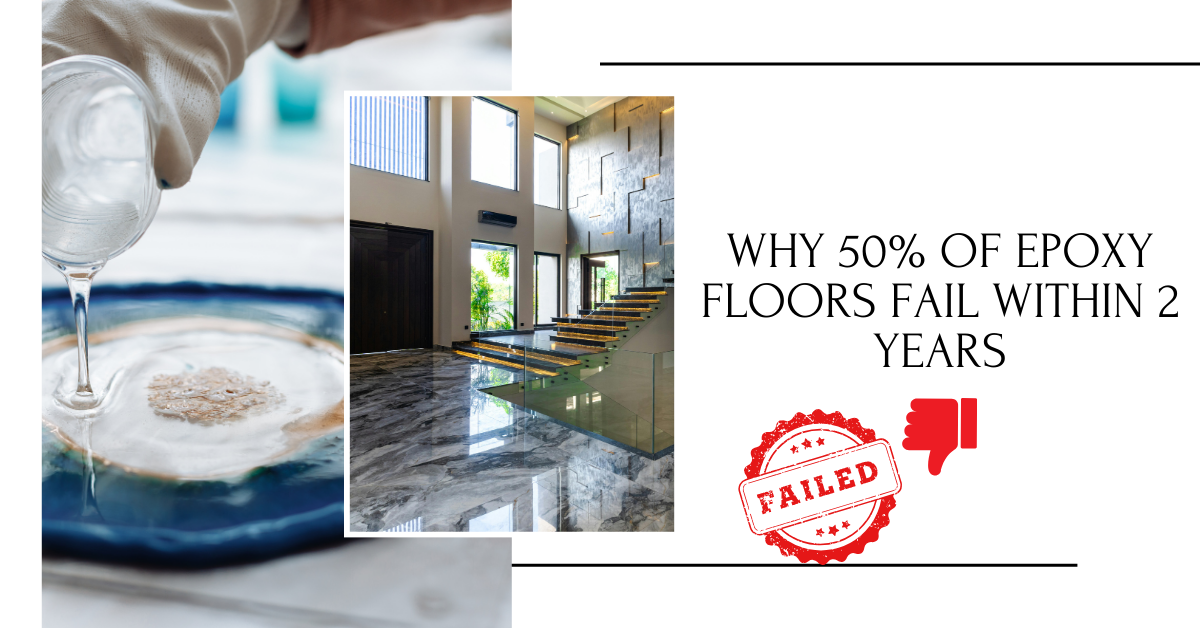
When a freshly laid epoxy floor begins to peel, blister, or break within a few months, it feels like a betrayal. You put in time, money, and effort, but the floor just won’t hold. In my years managing R&D for construction chemicals, I’ve learned the main Epoxy Floors Fail Reasons-and I’ve seen this problem happen enough times to know it’s far more common than most contractors think.
People love epoxy flooring because it lasts a long time, is resistant to chemicals, and looks good. However, understanding the main Epoxy Floors Fail Reasons is crucial, as research and real-life experience reveal that over half of installations fail after two years. These failures cost firms thousands of dollars in repairs, lost productivity, and downtime.
For more insights on coatings and painting technologies, check out our detailed guides in the Coatings & Paintings section
What comes as a surprise? Epoxy itself is not to blame for most failures. They happen because the surface wasn’t prepared well, the mixing ratios were wrong, the primers weren’t compatible, or the curing conditions weren’t good enough. To make a solution that lasts, you need to know these things.
For detailed standards on concrete and epoxy flooring practices, see the American Concrete Institute (ACI) guidelines
Why This Problem Is Important
I was responsible for an industrial warehouse epoxy project a few years back. The client wanted a clean, long-lasting floor that could handle a lot of forklift usage. After six months, big spots started to bubble up. Trucks left permanent marks on areas designed to be resilient.
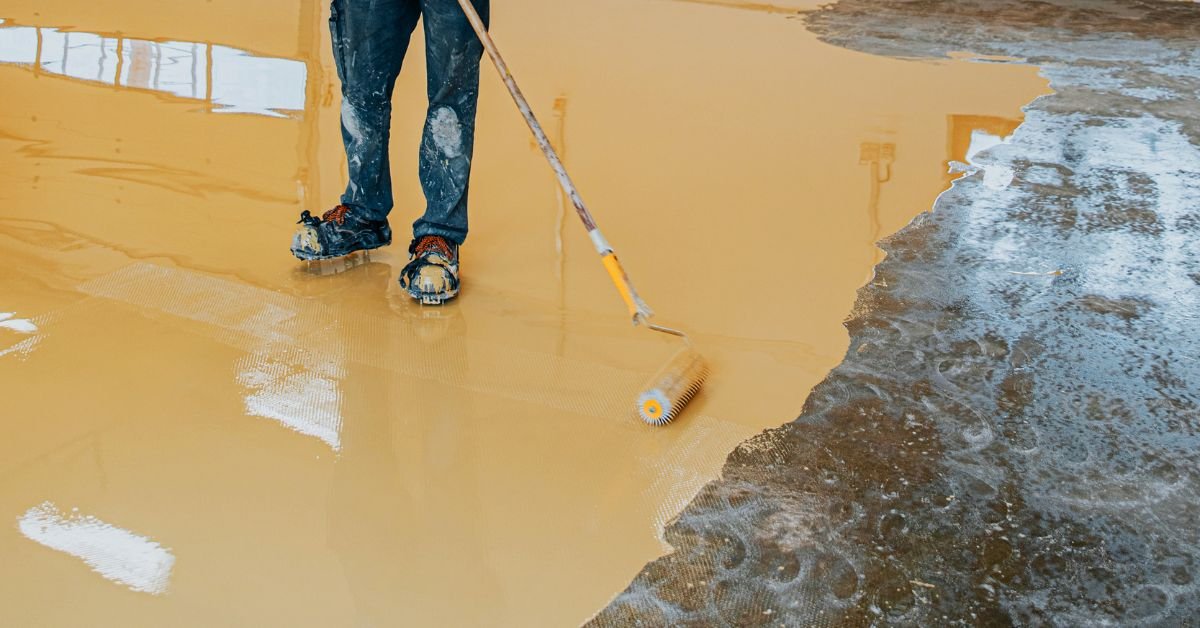
This picture demonstrates what happens when an epoxy floor fails: it peels and blisters because it wasn’t properly cured or adhered. If you notice these problems early, you may fix them quickly using primers and the right surface preparation. Just as in our warehouse case study, using these R&D-tested procedures keeps floors durable and saves money in the long run.
The effect was multi-layered:
- Performance fell drastically because parts no longer resisted mechanical stress.
- The cost of maintenance went up a lot since repairs took time, epoxy, and labor.
- Clients lost faith, which hurt both the contractor’s and the supplier’s image.
- Even little problems might cause expensive downtime in busy business sectors. It wasn’t just a technical problem for me; it was a commercial emergency. If epoxy flooring doesn’t work, it hurts trust and long-term contracts.
- Safety is also affected by epoxy failure. Floors that have come apart can be slippery, and concrete that is not covered up can make machines wear out faster. As a manager of chemical research and development, these failures show me how important it is to combine materials science with understanding of how things work in the real world.
Possible Solutions for Epoxy Floors Fail Reasons
Before taking action, I looked at popular fixes and thought about their prices, labor, and long-term reliability. Some of these were
- Changing the formulas of epoxy by using better resins or polyamine-cured systems.
- Adding bonding chemicals or primers to make concrete stick better.
- Prepare the substrate more effectively by shot-blasting, grinding, or acid-etching to eliminate laitance.
- One can modify the layer thickness, either by making the coatings thinner or thicker, to alleviate tension.
- Optimizing the curing environment means keeping the temperature and humidity at the right levels so that the polymerization process doesn’t stop.
There were good aspects to each choice. Changing the formulas could improve performance, but it didn’t always address the main Epoxy Floors Fail Reasons. Only when the surface was clean and properly prepared did the addition of bonding chemicals help. Sometimes, adjusting the layer thickness prevented cracks, but it didn’t fix underlying moisture or bonding issues that caused failures.
I required a solution that was technically sound, could be used in more than one location, and didn’t cost too much. This involved getting the surface ready, using an appropriate primer, and then applying it carefully.
The Chosen Solution for Epoxy Floors Fail Reasons and How to Apply It
After testing, I worked on preparing the substrate and selecting an epoxy primer that would address the main Epoxy Floors Fail Reasons. This combination directly tackled the core issue: poor adhesion.
Here’s how we applied it, step by step:
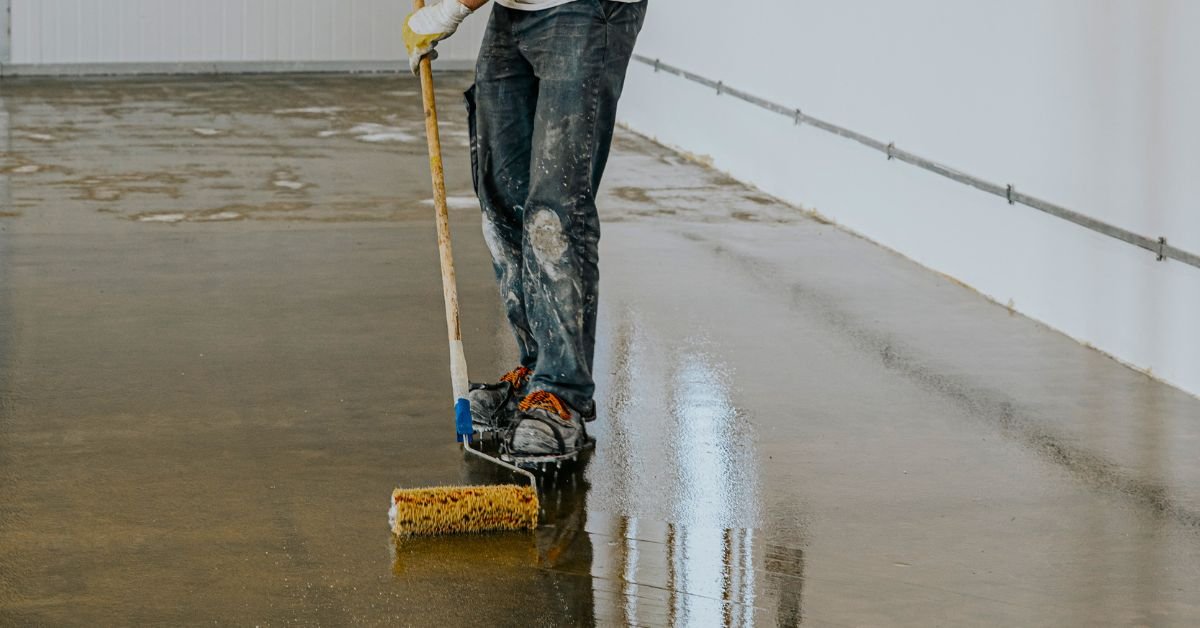
You can see the important process of putting epoxy over a prepared concrete surface here. Shot-blasting makes mechanical keys, and the priming makes sure that the chemicals stick. Using rollers and squeegees in a controlled way keeps the thickness consistent and stops delamination from happening in the future. This real-world method is what makes some floors endure and others collapse in only a few months.
Step-by-Step Epoxy Application to Prevent Failures
- Check the concrete for cracks, dampness, dirt, and the surface profile. When moisture is over 4% of weight, it commonly causes adhesion problems.
- To get a 1.5–2 mm profile, shot-blast the floor to prepare the surface. This makes mechanical keying for the epoxy.
- Clean well by vacuuming off dirt, oils, curing chemicals, or dust. Even modest amounts of dirt make primer less sticky.
- Choose an epoxy primer that works with your resin and apply it. Roll evenly and make sure there are no pools.
- Let the primer cure well; this step normally takes 4 to 6 hours, although it depends on the temperature.
- Be cautious while mixing epoxy glue and hardener; use the right amounts. If you mix it wrong, it might leave sticky places or patches that aren’t fully healed.
- To get an even thickness, use squeegees and rollers to apply the epoxy coating. Each layer should be around 2–3 mm thick.
- Control the curing environment by keeping the temperature between 20 and 25 degrees Celsius and the humidity low for the first 24 hours. This will help the cross-linking happen correctly
- Along the process, I made a few tweaks that helped
- To prevent bubbling, I thinned out the priming layer.
- To make sure it stayed within the allowed range, I changed the ratio of resin to hardener.
- Apply in stages over big surfaces to minimize uneven curing.
These changes may appear tiny, but they made a big difference in preventing the main Epoxy Floors Fail Reasons. A regulated technique ensures that the epoxy adheres to the concrete both chemically and mechanically.
Results and Improvements After Addressing Epoxy Floors Fail Reasons
The change was huge. In two weeks:
- Pull-off tests showed that the adhesion strength went up by more than 30%.
- There were no bubbles, fissures, or delamination on the surface.
- In the first year, problems with maintenance went down to almost nothing.
- Some places failed only six months before this strategy was put into use. After optimization, all of the floors stayed undamaged for more than two years.
We also saw other benefits:
- Chemical resistance got a little better than what was first planned.
- It was easy to clean and take care of the floors.]
- There was less downtime during repairs and applications, resulting in reduced operational costs.
In actual terms, a client saved tens of thousands of dollars on repairs in the first year alone, highlighting how addressing the key Epoxy Floors Fail Reasons through thorough research and real-world application proved highly effective.
Last Words for Readers on Epoxy Floors Fail Reasons
If your epoxy floors are failing, remember that preparation comes first and formulation comes second. No matter how good your resin is, bad substrate bonding is the real problem.
- Don’t just assume that the surface is dry enough; measure the moisture in the concrete.
- Instead of acid-etching, use shot-blasting. Mechanical keying works better for adherence.
- Always use a primer that works with your epoxy.
- Mix well; even tiny changes can produce weak places.
- Use under regulated circumstances since temperature and humidity can change polymerization.
- These processes may seem like a lot of work, but they save money, keep clients happy, and keep hassles away. Sharing these best practices guarantees that your initiatives will last as long as you expect them to.
Final thoughts
It is not certain that epoxy floors will fail. If you prepare the substrate correctly, choose appropriate primers, and obey the rules for applying them, you can nearly completely prevent early failures. When it comes to building chemicals, it’s more important to find realistic, tested solutions than to chase “the latest resin formulation.”
Remember that adherence is the most important thing when you choose or install an epoxy floor. Put money on getting ready, controlling your surroundings, and picking the perfect primer. Your clients and your floors will be grateful.
I hope that by sharing our experience, other people might avoid making expensive mistakes and have long-lasting, high-quality epoxy flooring. This experience reminds us that the key to success with building chemicals is often learning the basics and applying them consistently.
disclaimer: All images on this website are for illustrative and educational purposes. They may depict typical processes, products, or scenarios and are used to support the content.
Last updated on August 28, 2025
As Buildchemx’s founder, I’m Amarender Akupathni, who has over ten years of experience in the R&D of construction chemicals. I have a background in biotechnology, marketing, and chemistry, and my areas of expertise are adhesives, coatings, and environmentally friendly solutions. I offer useful perspectives at Buildchemx that connect laboratory studies with on-site implementations.