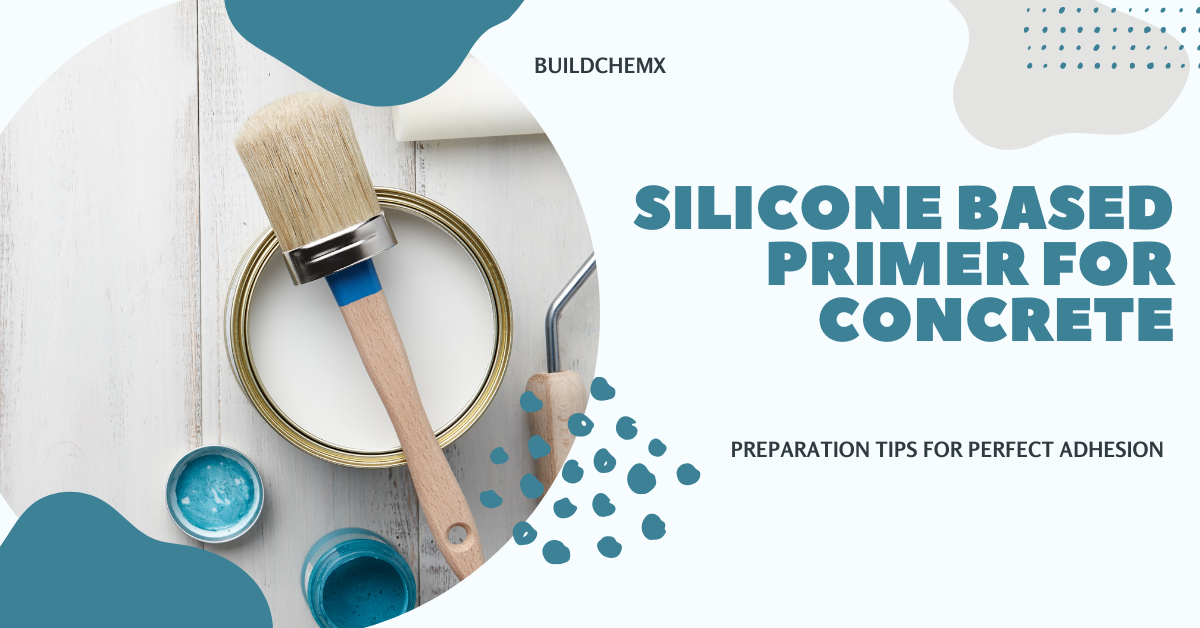
If you believe that painting or rendering concrete is as simple as applying paint to a wall, you may want to reconsider. Many coatings don’t work because the surface below isn’t ready. That’s when a Silicone Based Primer for concrete comes in. In short, it’s a unique primer that keeps porous surfaces stable and makes sure that silicone paints and renderings attach correctly. For people who work in construction and remodeling, knowing how to use a Silicone Based Primer effectively may save time, money, and hassles on any job.
“Many coatings don’t work because the paint isn’t good; it’s because the surface underneath isn’t ready.”
Reason: This sentence makes the opening statement stronger and brings attention to how important it is to prepare the surface properly.
Part 1: What is a silicone primer for concrete?
A Silicone Based Primer for concrete is basically an emulsion of silicone polymers and other chemicals that is ready to use. It penetrates the pores of concrete, masonry, or other mineral surfaces and creates a strong bonding layer. This layer ensures that silicone paints or ornamental renderings stick properly to the surface.
Like putting on a firm base coat before frosting a cake, a Silicone Based Primer keeps everything on top from sliding off. Using this primer in real-life projects has prevented walls exposed to moisture or harsh weather from peeling, cracking, and developing uneven finishes.
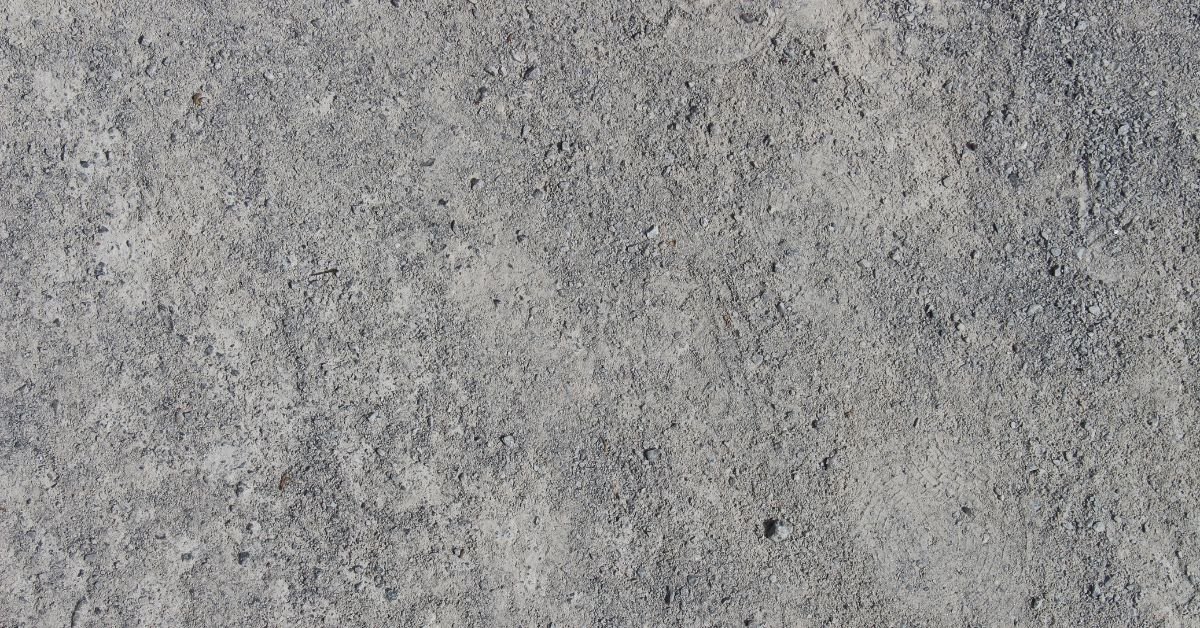
Always clean the surface well by getting rid of dust, grease, and loose paint before putting on silicone-based primer. A well-prepared surface makes for better bonding and longer-lasting performance.
Always use a primer on surfaces that are porous. Not doing so is like telling paint to “stick in midair.”
“Not using a primer on porous surfaces is like asking paint to ‘stick in midair.'”
Your comparison of cake icing is memorable and works nicely as an emphasized takeaway.
Part 2: How Silicone Based Primer Works
So, how does a Silicone Based Primer work its magic? It’s all about chemistry. The silicone polymer emulsion goes deep into the substrate and fills in small fractures and holes. It dries to a thin, firm layer that sticks well to both the surface and the topcoat.
A Silicone Based Primer differs from regular primers because it keeps water out while allowing air to pass through. This means water from outside the wall can’t penetrate, but moisture from inside can escape. Concrete surfaces benefit from this feature, as they naturally absorb water and may crack if moisture gets trapped.
I’ve found that applying a silicone primer for concrete on ancient masonry fixed weak spots and let fresh paint coats endure for years without chipping. The primer works as a “surface repair assistant” by making the surface stick better and last longer at the same time.
Choose silicone primers for surfaces that get wet, cold, or sun-these will protect and strengthen at the same time.
“Silicone primer is like a “surface repair helper” that makes weak spots stronger and helps your topcoat last longer.”
Reason: This stresses the protecting and adhesion-enhancing function in a straightforward, welcoming approach.
Part 3: Main Uses and Applications
Because silicone primer works on many different surfaces, it is great for concrete:
- For both new and existing walls, concrete and masonry are excellent choices.
- Gypsum boards, MDF, plywood, and chipboards are all excellent for finishing the inside of a building.
- Weak or crumbling render stabilizes surfaces before decorative coatings.
- Facade insulation solutions make sure that paints and renders stick for a long time.
- We used silicone primer on a concrete facade that was 15 years old as part of a recent rehabilitation job. The surface was dusty and a little crumbly, but after priming, the fresh silicone paint stuck evenly, giving it a smooth, long-lasting gloss.
- Always use the correct primer for the right topcoat. For example, silicone primers work well with silicone paints and renderings.
Part 4: Pros and Cons of Silicone Based Primer
There are many benefits to using a silicone primer on concrete:
- Better adherence stops the topcoat from peeling and flaking.
- Surface stabilization makes weak or porous substrates stronger.
- Waterproofing with vapor permeability keeps walls dry while yet letting them “breathe.”
- Durability: It can withstand frost, rain, and sunshine, which makes coatings last longer.
- Easy to use: Formulations that are ready to use save time and make application easier.
- In real life, this primer lowers the expense of upkeep and guarantees a professional finish, even on tough surfaces.
- Takeaway: Buy good primer. It’s cheaper than painting over walls that don’t work.
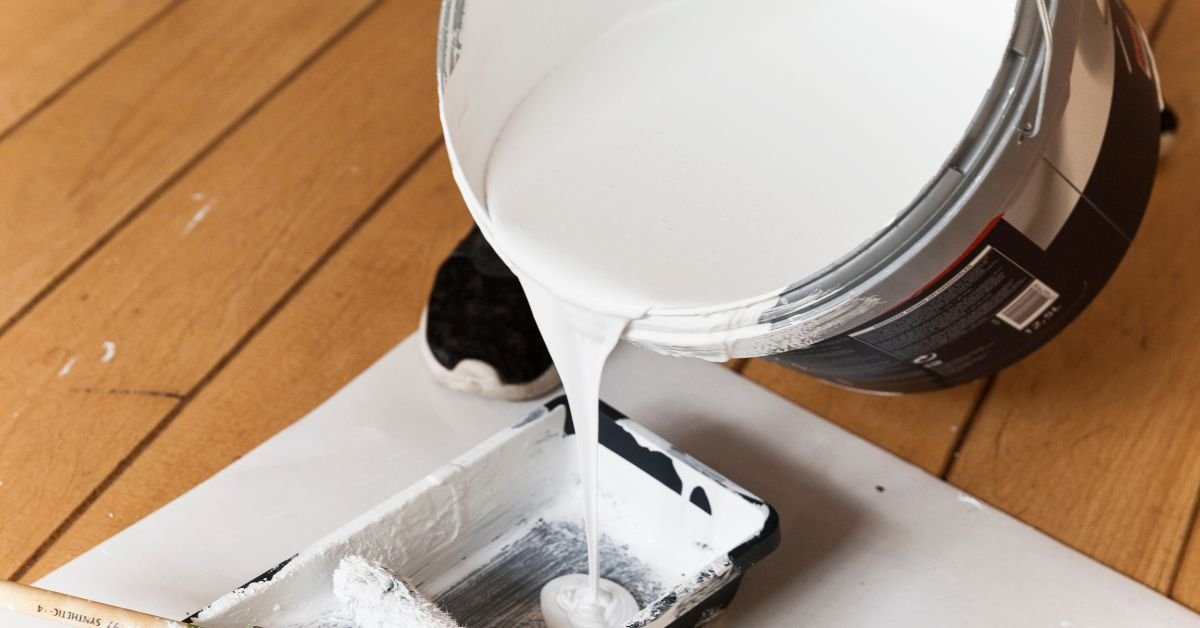
Applying silicone primer with a roller or brush makes a strong connection that helps silicone paints and dyes stick uniformly and keep out moisture.
Part 5: Things to Keep in Mind and Limitations
- Silicone primer for concrete works really well, but there are a few things to bear in mind:
- Don’t put it on wet surfaces since moisture stops it from adhering properly.
- Don’t use it in very hot or cold weather, in bright sunlight, or while it’s freezing.
- For the first 2 to 4 weeks, you shouldn’t treat fresh stucco.
- The amount of primer used (100–300 g/m²) depends on how porous the surface is.
Not paying attention to these factors can weaken adhesion, causing the coating to fail prematurely. In one instance, a coworker applied a Silicone Based Primer in bright sunlight, which made the surface dry unevenly and led to small cracks in the topcoat. What I learned is that timing and environmental conditions are crucial.
The most important thing to remember is to always read and follow the manufacturer’s directions and inspect the surface thoroughly before applying a Silicone Based Primer.
Part 6: Useful Tips and Rules for Using Silicone Based Primer
- To use silicone primer on concrete correctly, follow these steps:
- Get rid of debris, grease, loose paint, and dust on the surface.
- Check the dryness of the substrate: Make sure there is no moisture left.
- Make sure to stir the primer thoroughly to achieve a uniform texture.
- Use a brush or roller to coat the whole area without leaving any gaps.
If you want to take application efficiency to the next level, check out my guide: Inside the Machine: Demystifying Paint Sprayer Tech for Smarter Painting
- Follow the rates of use: 100 to 300 g/m², depending on how porous it is.
- Don’t let rain, frost, or direct sunlight hit the surface for 24 hours after you apply it.
- If you need to tint, use water-based pigments that work with each other to make bespoke hues.
For example, while using Marmocryl silicone render on a commercial job, applying a Silicone Based Primer beforehand and following proper surface preparation processes led to perfect adherence and a smooth ornamental finish.
What you may take away: The primer itself is equally as essential as how you prepare and use it.
Never miss a step. Proper preparation and application are just as crucial as the primer itself.
Reason: This supports the step-by-step advice and makes people more likely to follow it.

In just one month, my LinkedIn profile received 1,225 views, 183 new followers, 160 profile visits, and 25 article reads.
This growth shows how valuable it is to share real insights in building chemicals and AI technologies.
Each blog post and update is not just information-it’s a way to connect, inspire, and strengthen our professional community.
Thank you to everyone who is learning, growing, and innovating with me.
For more technical details, tips, and updates, visit my LinkedIn page:
BuildChemX LinkedIn Home
(Analytics available here: LinkedIn Dashboard)
Conclusion: Summary and Motivation
In short, a silicone primer for concrete is more than simply a first coat; it’s a base that makes the finish stay longer, stick better, and be more durable. It keeps your silicone paints and renderings working at their best by making porous surfaces stable, keeping water out, and letting air in.
It is critical to use the correct primer whether you work with concrete, masonry, or other porous surfaces. If you prepare, apply, and take care of it properly, you may get professional results that last.
Once your surface is perfectly primed, the next step is choosing the right paint.
Here’s a detailed guide to help you select the Best Concrete Paints of 2025: Top Picks for Indoor & Outdoor Use
Here’s a suggestion: the next time you paint a concrete wall, make sure to use a high-quality silicone primer. Think of it as a strong handshake for your topcoat that lasts for years.
Disclaimer / Image Credits: All of the pictures in this article are either original, made with Canva, or screenshots of my personal LinkedIn statistics.
All external sources are appropriately cited, and all photos are used for educational and illustrative reasons.
Last updated on August 23, 2025
As Buildchemx’s founder, I’m Amarender Akupathni, who has over ten years of experience in the R&D of construction chemicals. I have a background in biotechnology, marketing, and chemistry, and my areas of expertise are adhesives, coatings, and environmentally friendly solutions. I offer useful perspectives at Buildchemx that connect laboratory studies with on-site implementations.